Create a custom rule
Custom rules are available to users of all of the minFraud services. Users can create rules to automatically set a disposition flag on transactions that can be integrated into your own systems or viewed in the log of transactions visible in your account portal. Custom rules can help you to ensure rapid order fulfillment of good transactions, quick action against bad transactions, and easy identification of transactions requiring manual review.
You can have up to 150 active rules for your account. For this reason, it is recommended that you plan rules carefully prior to creating them. Learn more about how to design and plan custom rules before creating them.
Continue reading below to learn:
Access custom rules
Click on 'Custom Rules' in the minFraud menu in your account portal [direct link, login required]. This feature is available to admin users and standard users with product/service permissions. Learn more about user permissions.
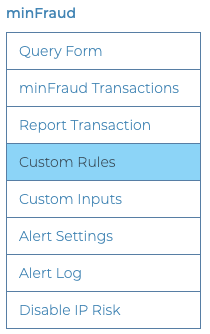
Create a custom rule
A custom rule will include one or more conditions based on the transaction data you send to the minFraud service or the risk scores and risk data returned by the service. These conditions can be combined using logical operators (and/or). When a minFraud transaction meets the condition(s) of a rule, the rule will automatically apply a disposition to the transaction. This disposition will be returned as an output in the minFraud response.
For example, a rule could be created for all transactions which have an IP risk score above 5.
Begin by clicking the blue “New Rule” button.
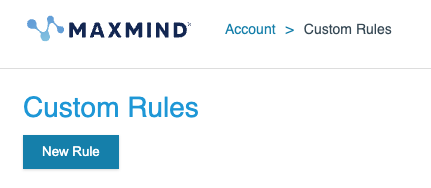
Define a condition for your rule
Every rule must have at least one condition. Each condition consists of:
- a parameter, which can be transaction data you send to the minFraud service or risk scores or risk data returned by the minFraud service
- a test for that parameter, which determines whether the rule will be triggered
Select a parameter for your condition
Every condition needs a parameter, which is the data that will be "tested" to see whether the rule should be triggered.
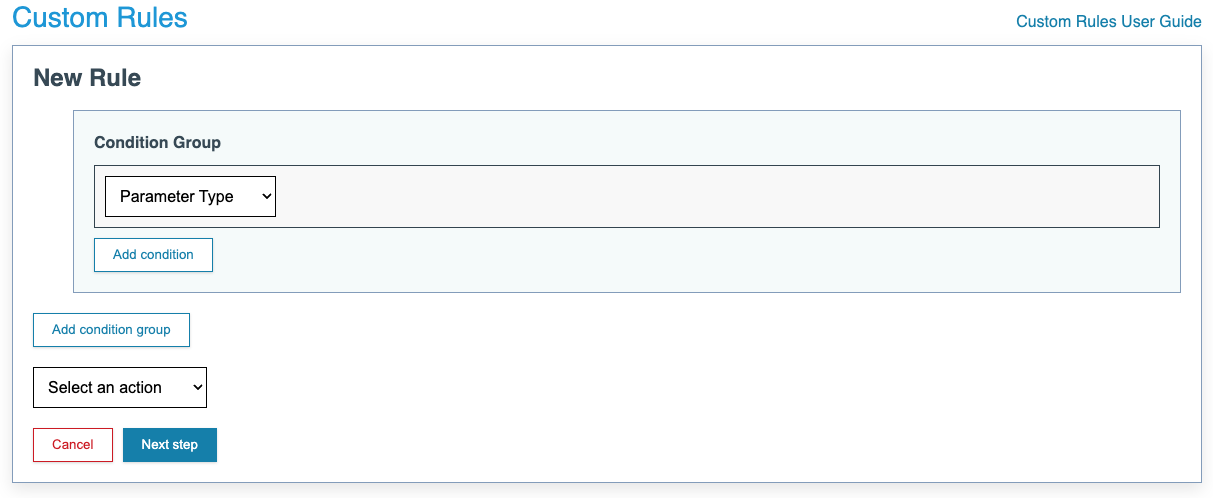
You can build a condition based on an input parameter (a data point you pass for a minFraud request) or an output parameter (a data point returned in the minFraud response). You can also create rules using custom inputs. Learn about creating custom inputs.
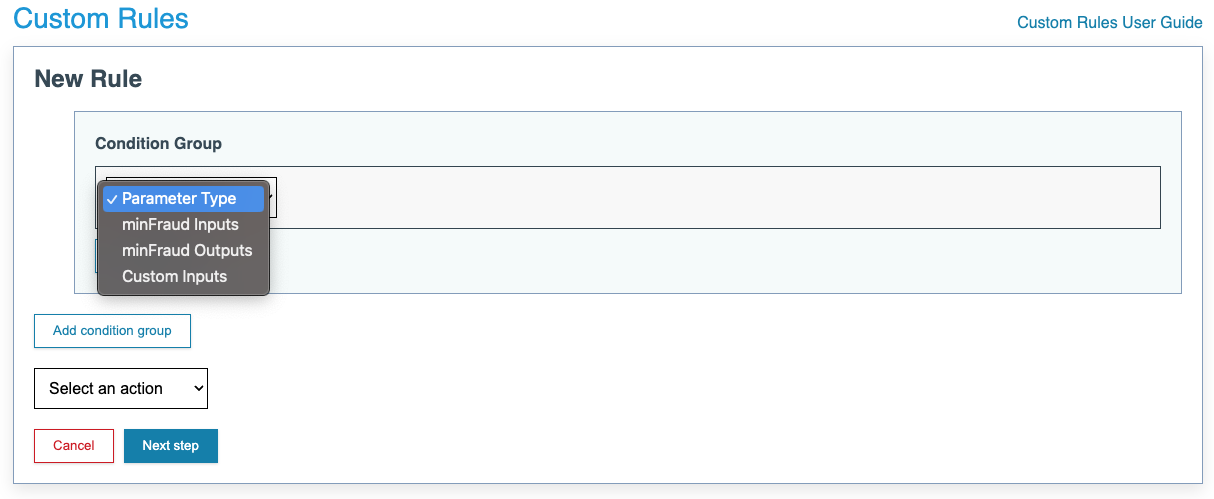
Set a test for the parameter
Next, you will have to decide how to test this parameter. Choose an operation for the test. The operations available will depend on what type of parameter you've chosen. For example, if you have chosen a numeric parameter like the IP risk score, you will have comparison operators like greater than, less than, or equal to. If you have chosen a parameter that contains text, you will have operators to see if the text contains a specific string, and in some cases to see whether it matches another parameter.
Next, you will have to decide what the parameter will be tested against. For example, if you have chosen the billing address country parameter, your operator could see whether it matches the shipping address country or IP geolocation country parameters. If you have chosen the overall risk score, you could test whether the risk score is less than 20.
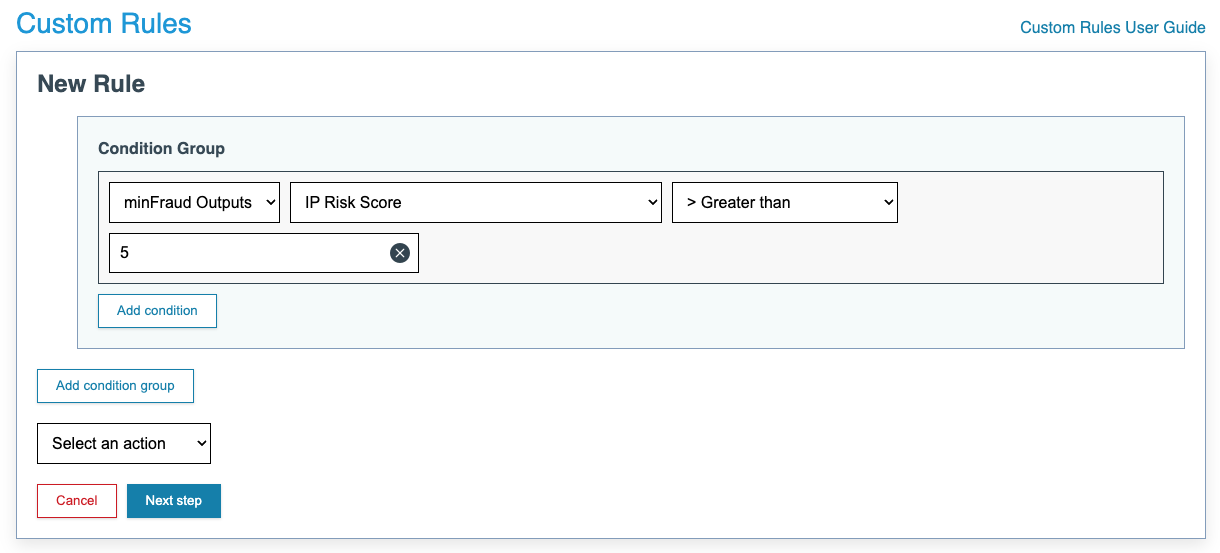
In the example shown in the image above, the condition will be met whenever the IP risk score of a transaction is greater than 5.
To determine the appropriate values for your condition, you should consult the full API specification of minFraud inputs and outputs on our Developers Portal. In order to function properly, the values used in your custom rules must be able to match possible inputs and outputs for the minFraud services. In addition, the outputs will only be matched when those outputs are available for the particular minFraud service you're querying.
For example, a minFraud Score user cannot create functional rules based on our anonymous IP risk data, because those outputs are not included in the minFraud Score response, however minFraud Insights and Factors users can. Learn more about the differences between the minFraud services.
Add more conditions to your custom rule
Additional conditions can be added to a rule for more complexity. For example, you could create a rule that is triggered for transactions which have an IP risk score above 5, and either an order amount more than $100 or a billing country that does not match the shipping country. Learn more about grouping and joining conditions in custom rules.
Set a disposition for your custom rule
Once you have defined the conditions, select the action for the rule to take. The rule can set the disposition of a transaction to accept, reject, manual review, or test.
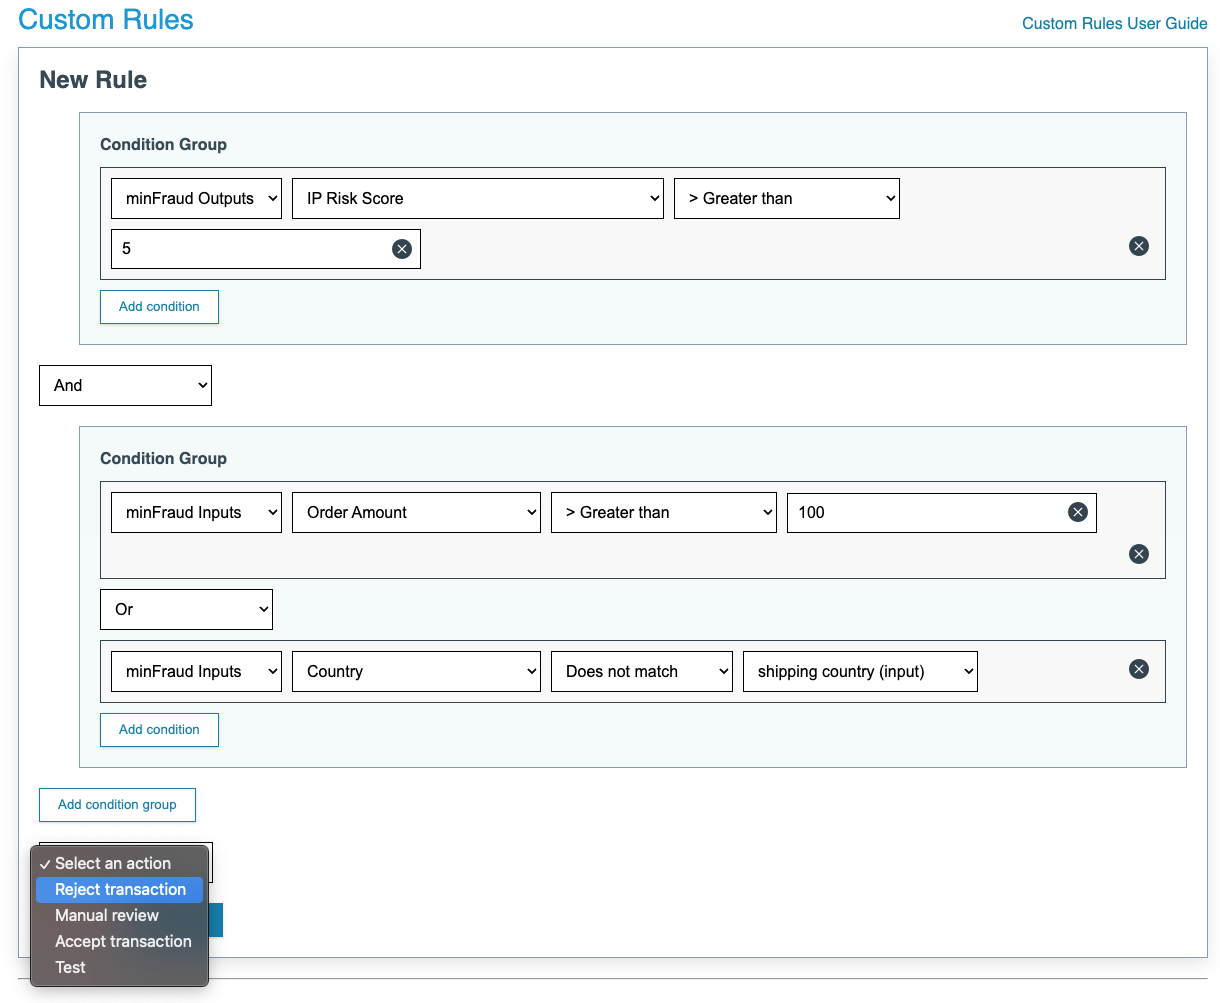
Learn more about minFraud transaction dispositions and how to use them.
Finish creating your rule
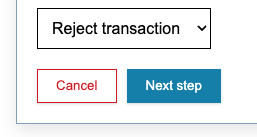
Once you have set your conditions and dispositions, click the blue "Next step" button.
When you create a new rule, you will be prompted to position it in the list of existing rules. This rank can be edited later if you need to shift the priority of your rules. Learn how to prioritize your custom rules.
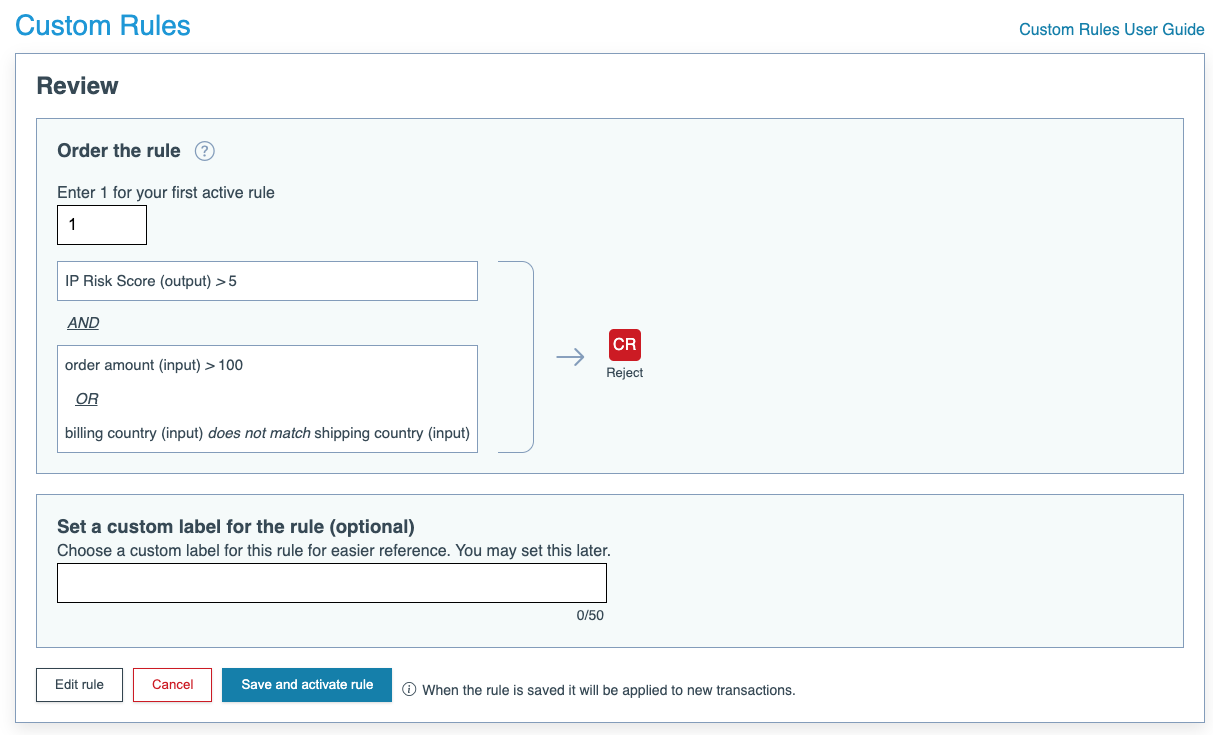
Once you’ve set the conditions and action for a custom rule, you’ll also have the option to set a custom label for the rule, up to 50 characters long. This label is displayed in a number of places in the account portal, and is also returned as part of a minFraud service response, to help you track which rules are affecting which transactions in your own system. You can change this label after the rule is created. Learn more about labeling custom rules.
Once you have set a priority and, optionally, labeled your rule, click the blue "Save and activate" rule button to finish creating your rule.
