You should never send a full credit card number as an input. If you attempt to send a full credit card number as an input, the minFraud service will reject the input and issue a warning.
Learn more about valid partial credit card number inputs.
Custom inputs are available to users of all of the minFraud services for use with custom rules and for display on the minFraud transaction review screen. You can have up to 100 active custom inputs at any one time. Custom inputs cannot be deleted after they have been used.
Custom inputs all have a data type, a human readable label, and a parameter key used in your API requests.
Once you have defined a new custom input in your account portal, you will need to update your minFraud integration so that the new input will be sent to the minFraud service. You can learn more about this required step on our Developers Portal.
If you plan to use custom inputs with custom rules, make sure you know how custom rules work and that you have set up your integration to work with custom rules. Learn more about using custom rules.
Read more below to learn:
- how to create a custom input in your account portal
- how to delete a custom input if it hasn't been used
- how to deactivate a custom input even if it has been used
Create a custom input
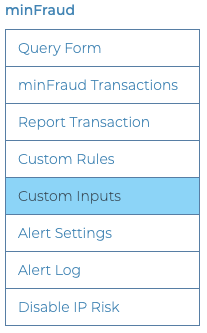
Click on 'Custom Inputs' in the minFraud menu in your account portal [direct link, login required]. This feature is available to admin users and standard users with product/service permissions. Learn more about user permissions.
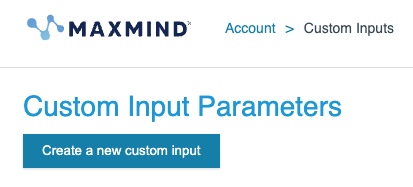
Begin by clicking the blue “Create a new custom input” button.
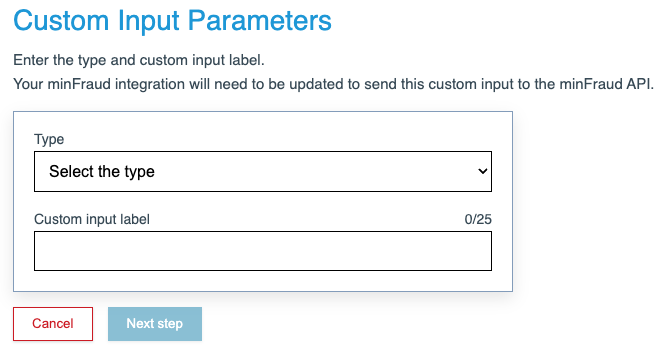
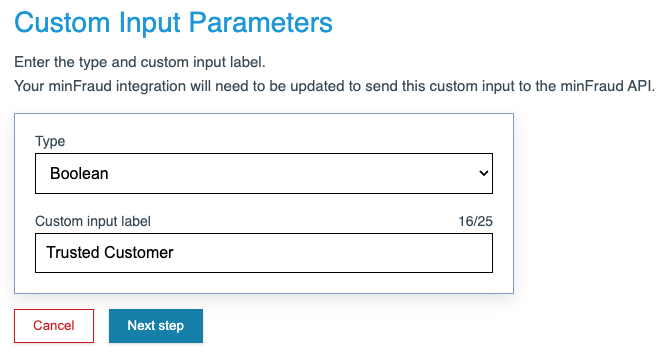
After clicking this button, you will be prompted to define the type of custom input, and to give it a label.
Custom input types
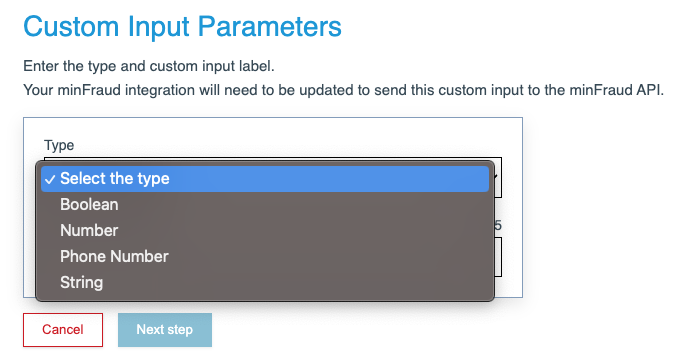
Every Custom Input is defined by designating a type of data which will be passed (boolean, number, phone number, or string), and a label. There are four data types that you may choose from.
Select the appropriate type from the dropdown list for your new custom input:
Custom input labels
After you have determined the input type, enter a label for your custom input. This is a human readable label and does not need to be used in your code. Once you've picked a label, click the “Next step” button.
Custom input parameter keys
The system will generate a parameter key based on the label you specified.
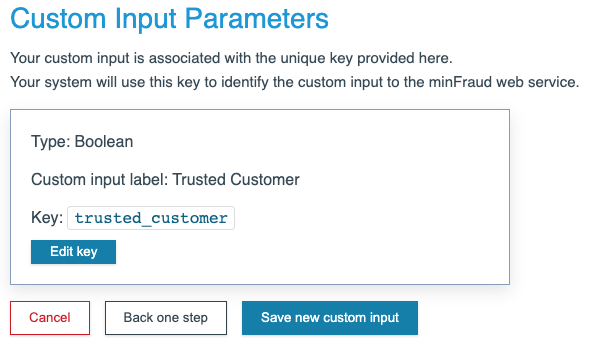
The parameter key will be used in your API requests. Learn more about custom inputs are passed through our REST API on our Developers Portal, or consult the documentation for the specific client API you're using for integration instructions.
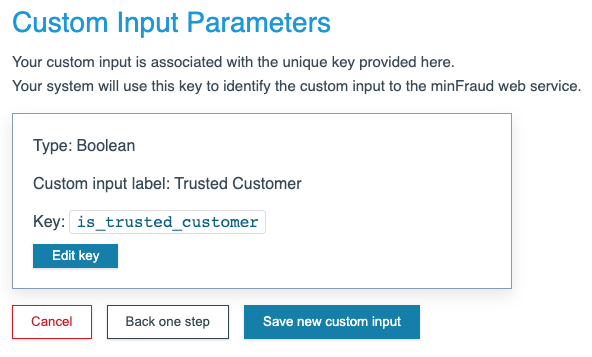
You may edit the parameter key. For example, you may wish to change the name of the parameter key to meet a naming convention used by your developers. In this case, we'll change the parameter key from trusted_customer to is_trusted_customer to indicate that it is a boolean data field. Click the blue "Edit key" button.
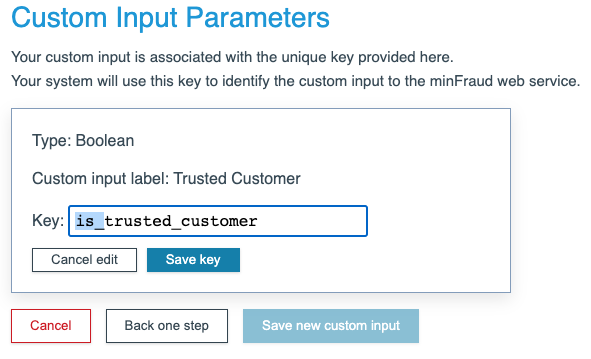
Now, enter your new parameter key and click the blue "Save key" button to save your change.
Save your custom input
When you have the custom input type, label, and parameter key defined as you would like them, click the blue "Save new custom input" button.
You will still be able to delete your custom input until you use it through your integration. After your custom input gets used, you will only be able to deactivate it, because minFraud will need to keep a report of the input as it was used in previous transactions.
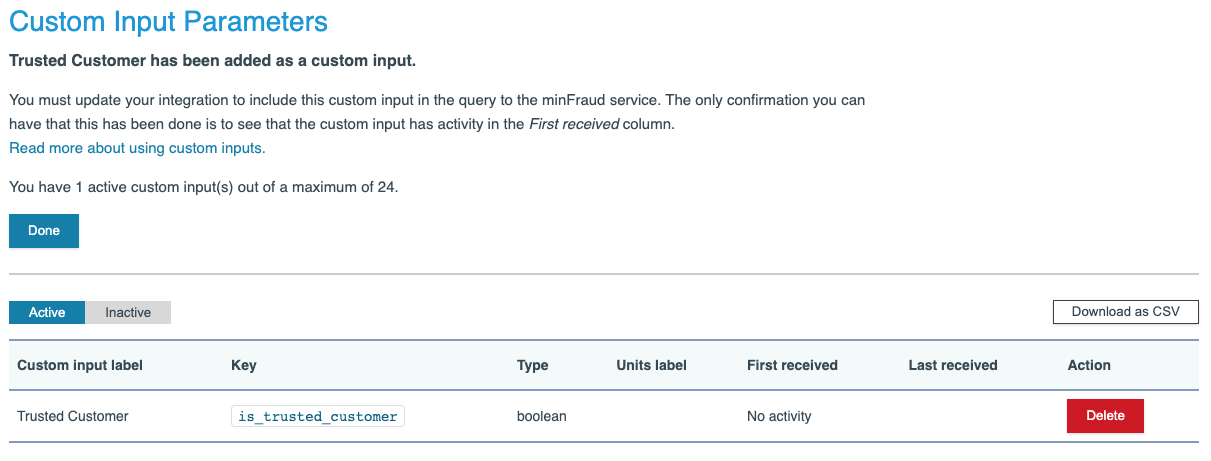
After you save your custom input, it will appear in the list of custom inputs below.
Delete a custom input before using it
After saving, the new input is added to the list of inputs with a "First received" status of "No activity". As long as you have not submitted any inquiries utilizing the newly defined input, the "First received" status will remain set to "No activity" and you will be able to delete the input.
Once you have added the custom input to your integration and a query has been received which includes that Custom Input as part of the request, you will no longer be able to delete it.
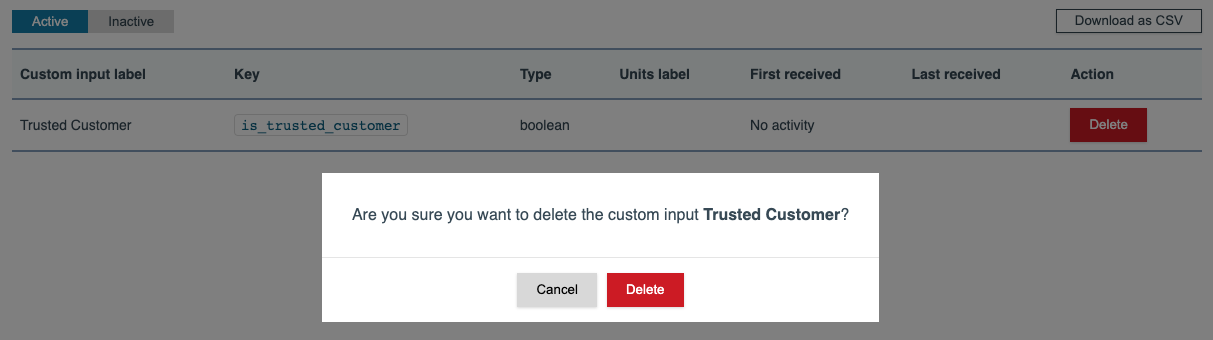
To delete your unused custom input, click on the red "Delete" button in the rightmost column of the chart for the input you would like to delete.

After clicking the "Delete" button, you will be prompted to confirm your choice. Click the red "Delete" button to confirm:
Deactivate a custom input
Custom inputs that have been used as part of submitted queries can be deactivated. If the custom input is used in any custom rules, you must first deactivate the custom rules that use it. Learn how to deactivate a custom rule.
Once all custom rules that use the custom input have been deactivated, you can deactivate the custom input by clicking on the "Deactivate" button and following the instructions on screen.