Use stored lists in custom rules
If you’ve identified fraudulent patterns from one or more email addresses, you can add them to a stored list. Once you’ve created a list, you can use it within minFraud custom rules to automatically apply a disposition to all matching transactions. Learn more about custom rules and dispositions.
Continue reading to learn how to:
- access stored lists,
- create a stored list,
- edit a list (adding/removing email addresses),
- delete a stored list, and
- use a stored list in a custom rule
Access stored lists
Click on 'Stored Lists' in the minFraud menu in your account portal [direct link, login required]. This feature is available to admin users and standard users with product/service permissions. Learn more about user permissions.

Create a stored list
To create a new list, click the ‘Create a new email list’ button.

Give your list a name of up to 25 characters.

You can add email addresses one at a time or paste a list of items separated by a space or new line. To add a new email address, type it in the box and then hit the ‘Enter’ key on your keyboard or click the ‘Add’ button on screen to add it to the list items. If you paste a list of email addresses, they will be instantly added.
Email addresses are automatically alphabetized
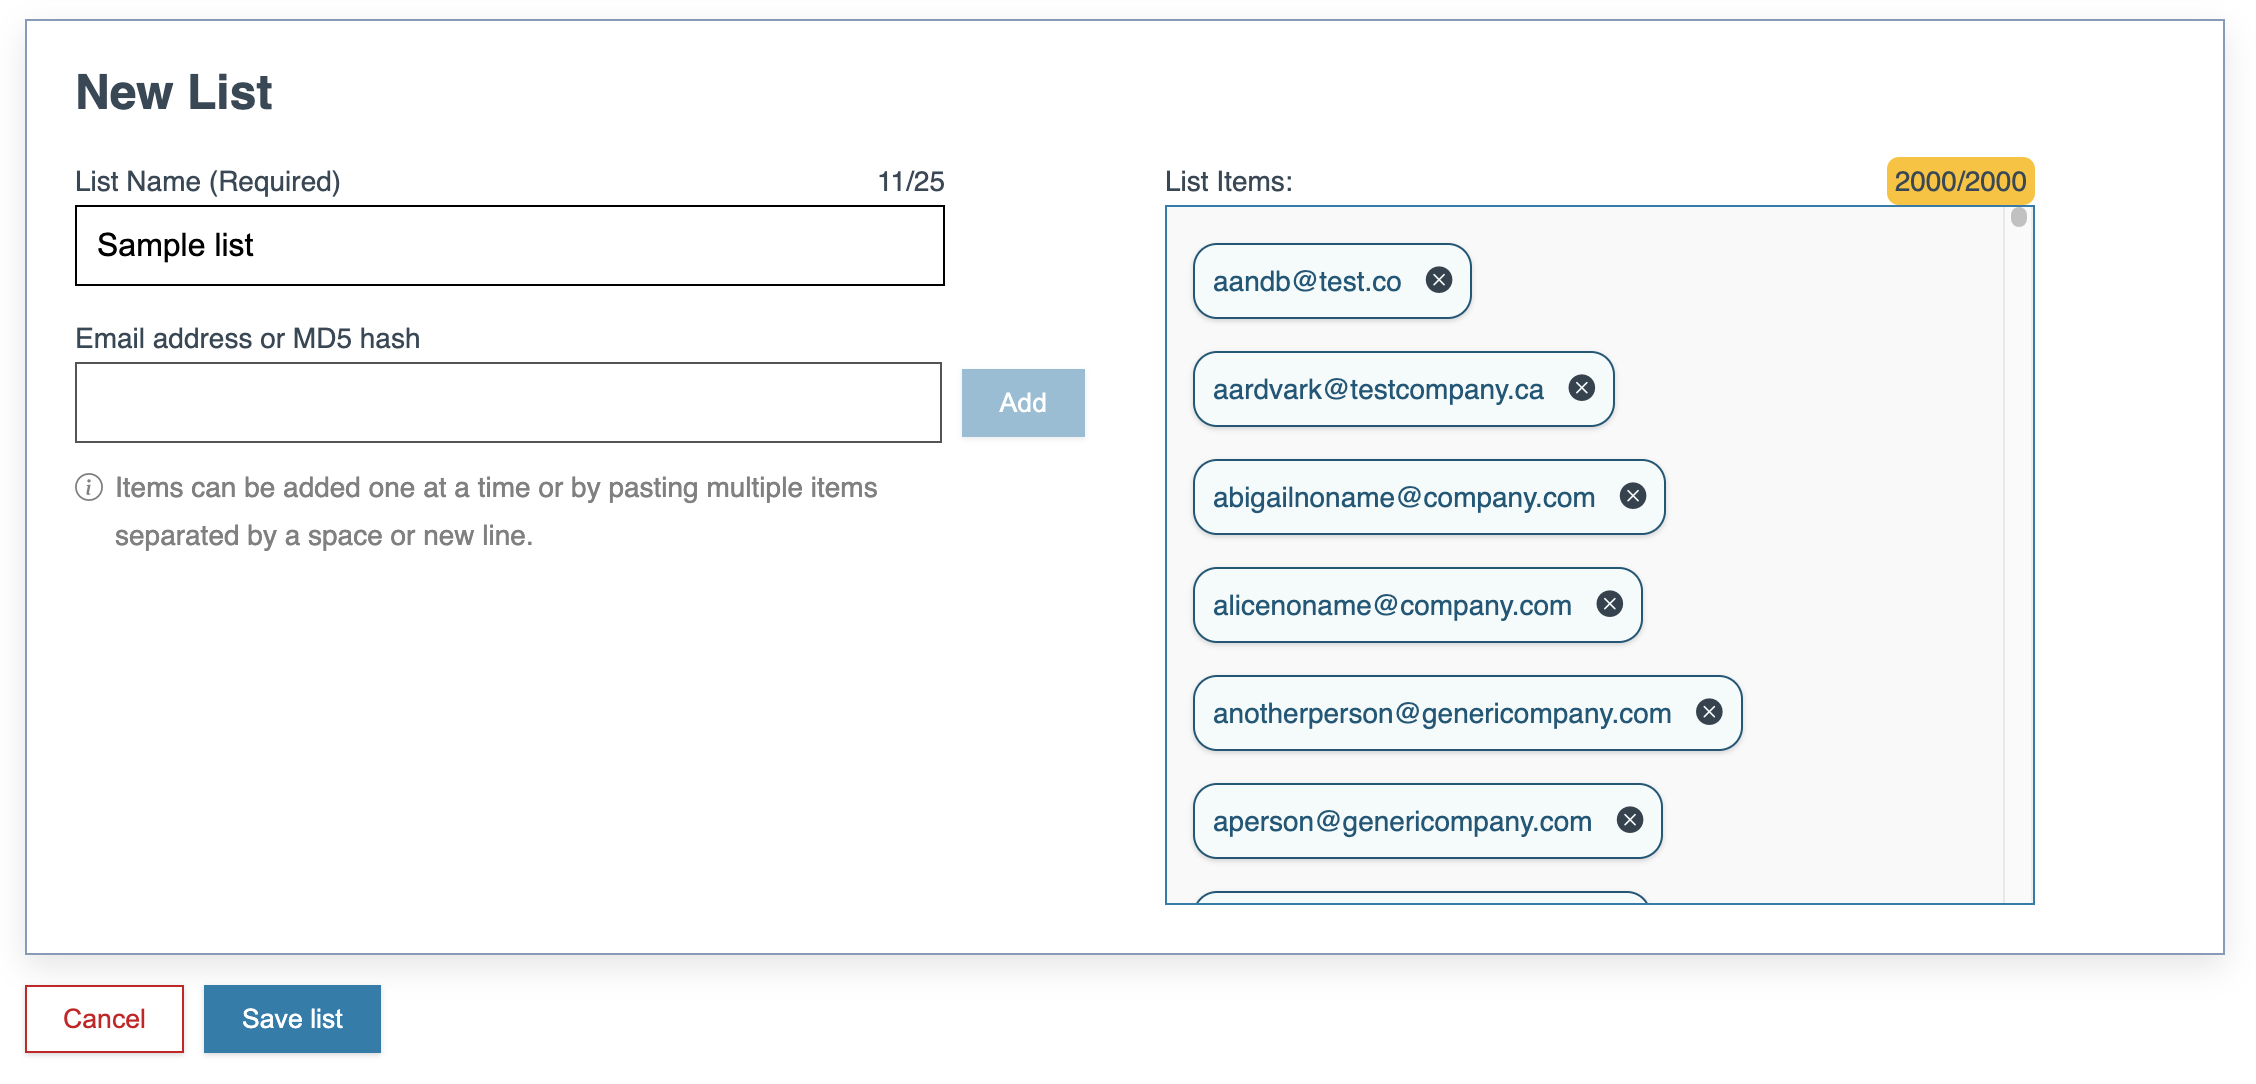
Each stored list can contain up to 2000 email addresses.
Once you’ve reached the 2000 limit, you will see the counter highlighted and the ‘Add’ button will be disabled (grayed out). Click ‘Save list’ to continue.
If you send an MD5 hash of your email inputs, you should add MD5 hashes instead of plain text email addresses. Learn more about hashed email inputs.
Invalid email addresses are flagged at the top of the list. You'll need to remove all invalid email addresses before you can save the list.

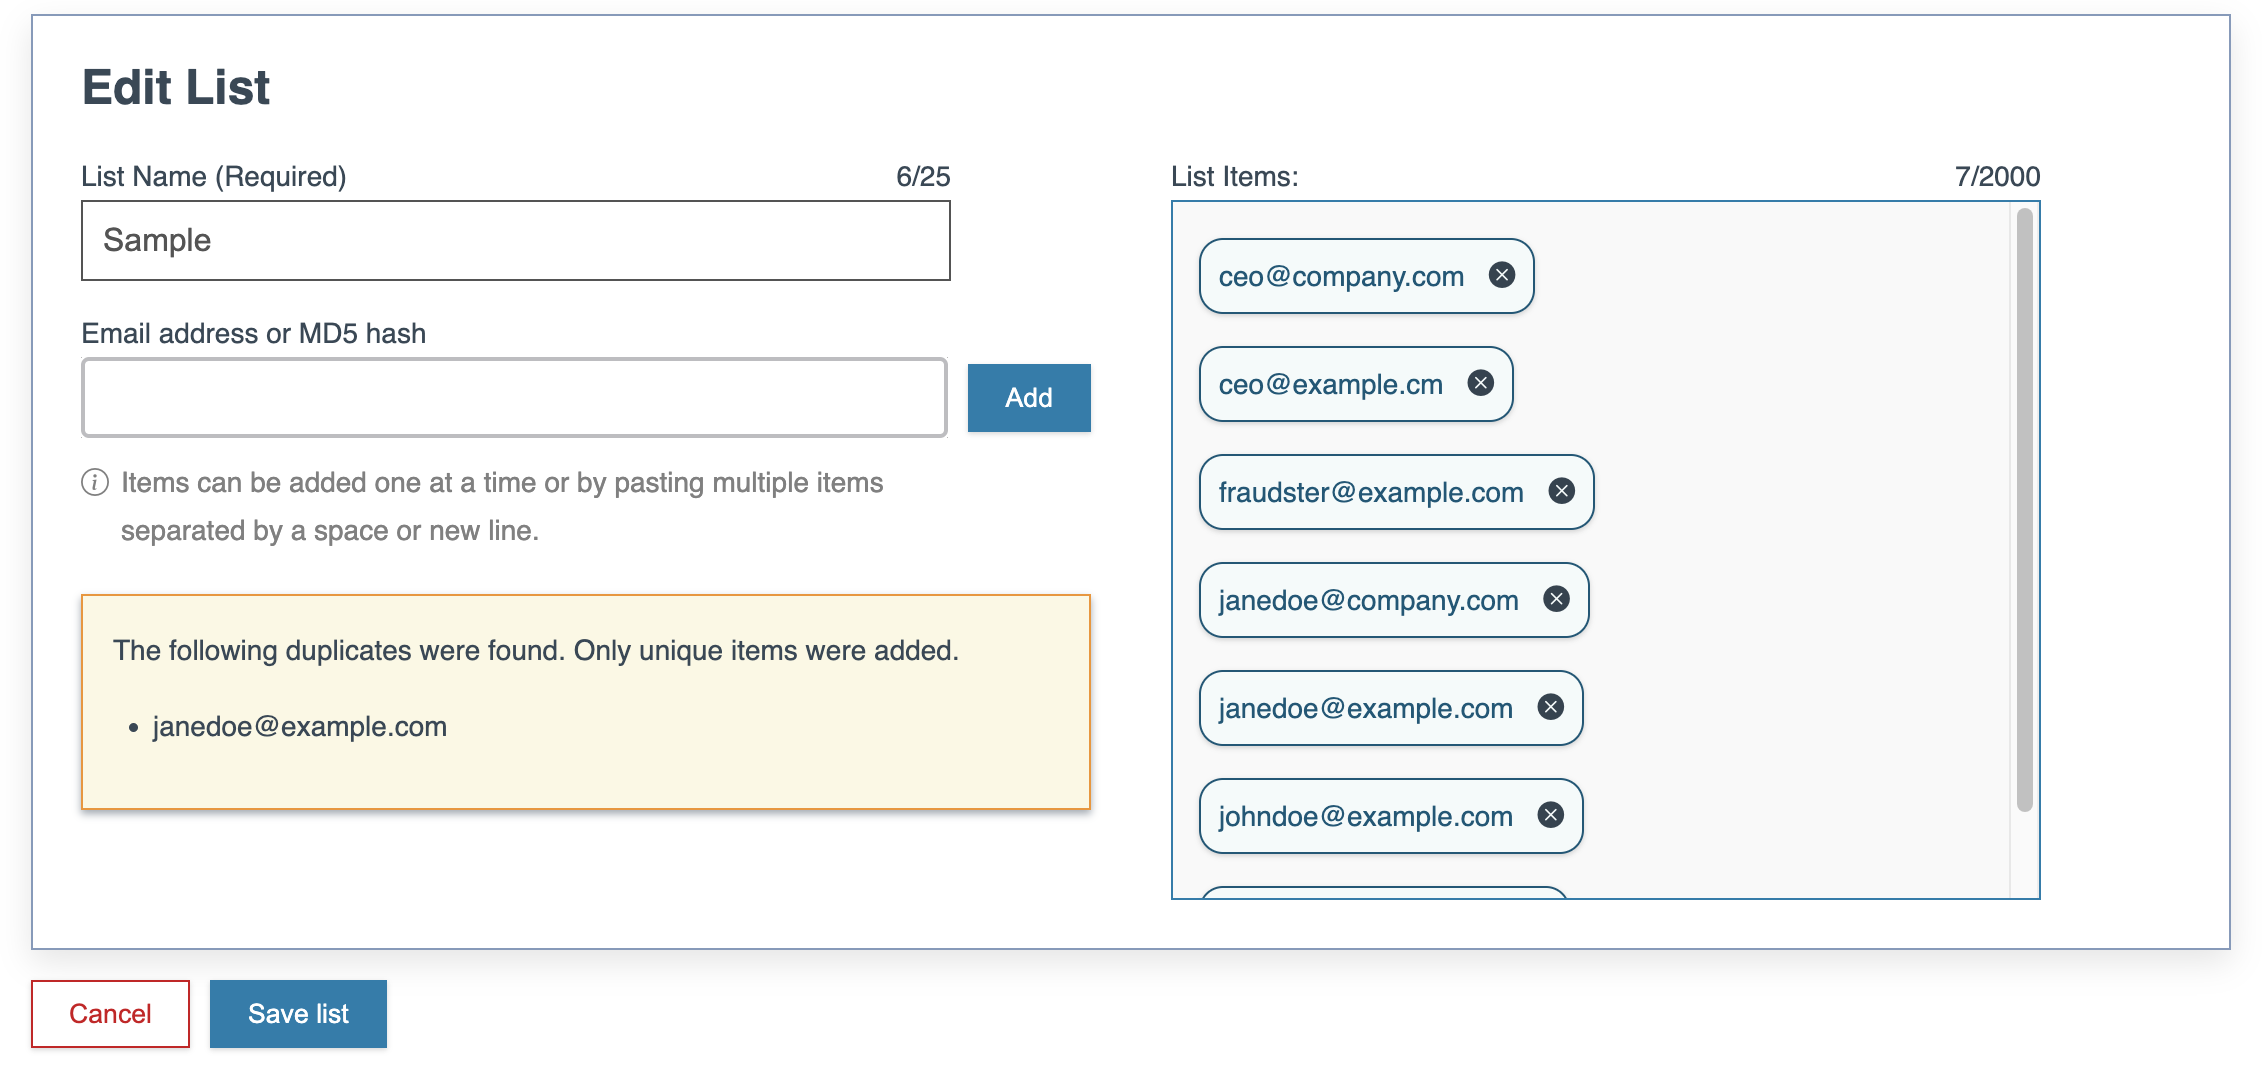
Duplicate email addresses are automatically excluded from the list. You'll be able to review which email addresses are duplicates.
Once you’ve added all email addresses to your list, click ‘Save list’. On the next screen, you’ll see a confirmation that your list has been created.
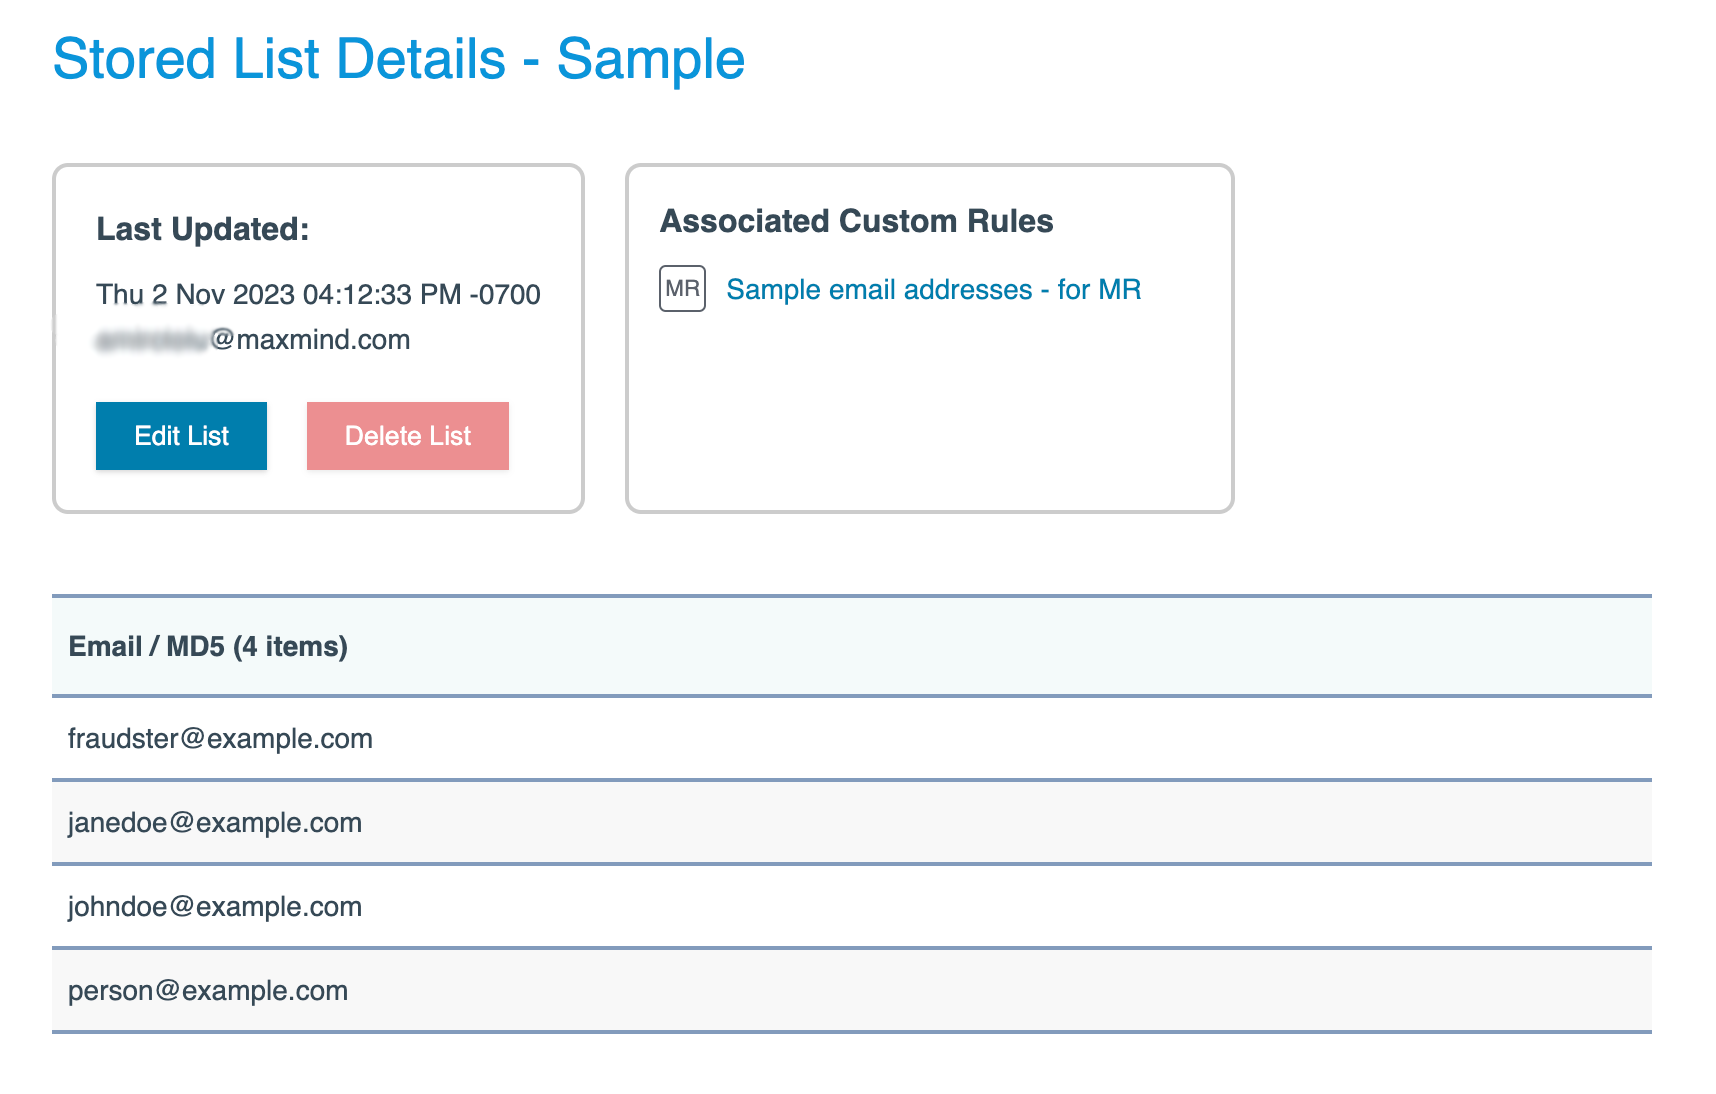
You’ll also see information about your list: the name of the list (label), how many email addresses (no. items) are in the list, the number of associated custom rules, when the list was last updated and by whom, and the list type.

If you’re ready to use this list in a custom rule, click the custom rules link found in the Success message to navigate to custom rules. Learn how to use stored lists in custom rules below.
Edit a list (adding/removing email addresses)
Click on a list’s name to access its details.
 Click ‘Edit List’.
 Enter additional email addresses, and click ‘Save list’. Or, click the X next to any email address to remove it from the list items.
Note: the ‘Save list’ button will be grayed out until you’ve made changes to the list.
Click ‘Cancel’ if you don’t want to make any changes.

Delete a stored list
You can create up to 100 stored lists. To delete a list, click on its name.

Next, click ‘Delete List’.
 Click ‘Delete’ in the confirmation box to confirm deletion.

Use a stored list in a custom rule
Navigate to Custom Rules and click ‘New Rule’.
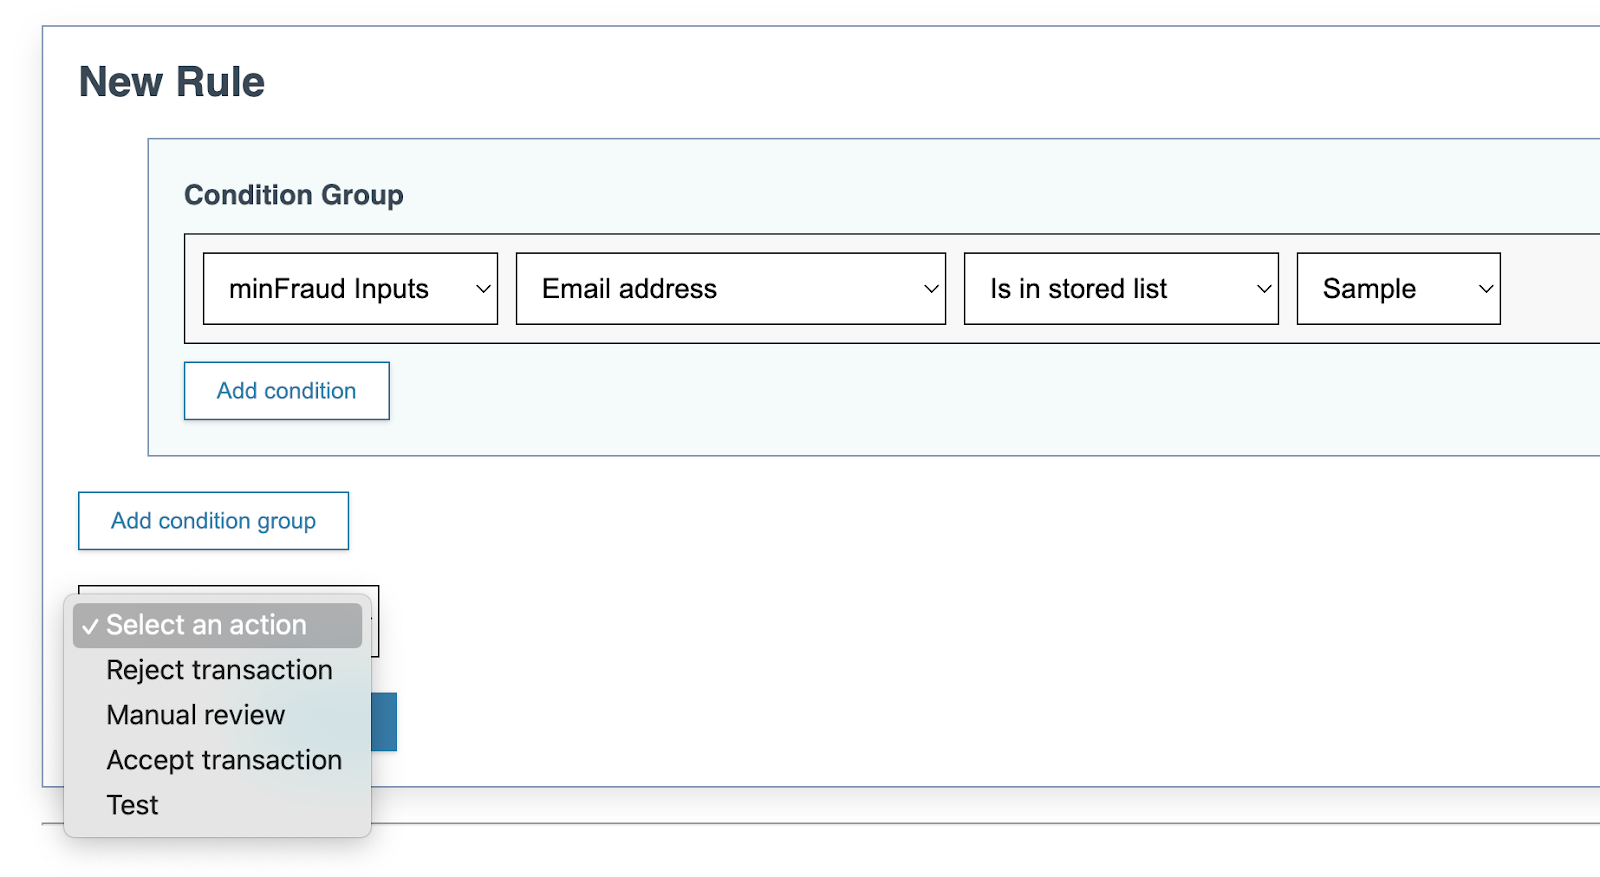
In the Condition Group dropdown, select ‘minFraud Inputs’. In the Parameter dropdown, scroll down to Customer account items and select ‘Email address’.


Select the desired operator from the list, then choose the list.
Select the disposition that should be applied when your custom rule is triggered. Learn more about setting a disposition.
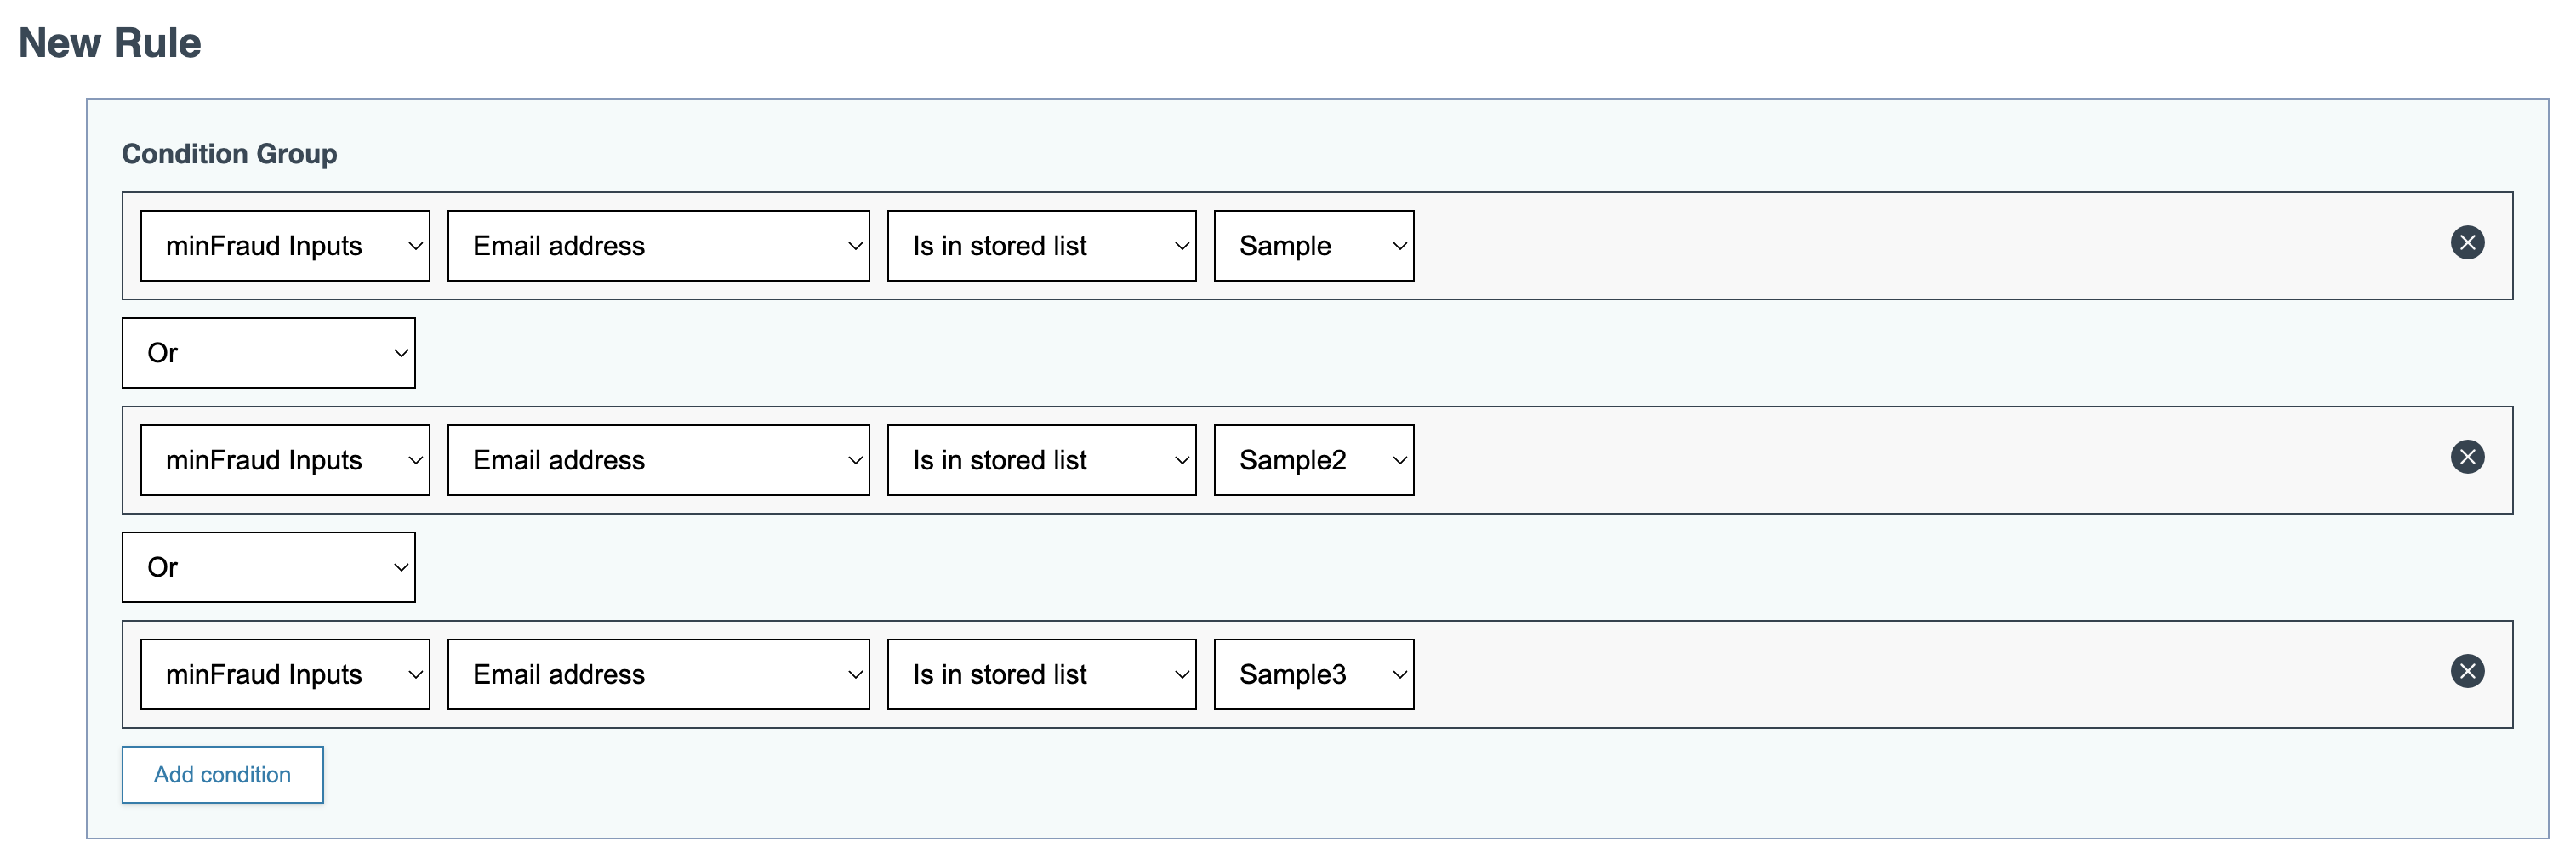
Each custom rule can have up to 20 conditions, which means that you can create a rule that applies to up to 40,000 email addresses.
Click 'Add condition' to add another condition within the condition group.

Select 'or' as the operator.

Continue adding conditions.
Once you're ready, click ‘Next step’ to proceed to the Review screen. Learn how to finalize your custom rule.
Once you have created a rule, you’ll see it under Associated Custom Rules on the Stored List Details page.
